

Van Window Installation Pros and Cons - Ancillary Installation Methods
Published by VWD on Nov 16th 2023
![]()
Here are the obvious Pros to doing Van Window installation on your own as a DIY or as an Upfitter.
A lot of the pros to doing the job yourself are pretty obvious.
Generally, there is a substantial cost saving in doing the work independently; if any problems with the installation arise after some time, you will have become familiar with all of the installation and the ability to identify and locate the issue quickly. In addition, when an outside source does the installation, you may need to backtrack and have more time to figure out how to remove wall panels, garnish rings, insulation, etc., to get to the Window.
Also, it is a great feeling to accomplish your Van build on your own and have that sense of pride in relaxing in your home away from home that you created with your creativity, ingenuity, and own hands. For an Upfitter it is a great source of income as well as keeping your entire build in house and not needing an additional company to work with.
We are now going to give insight on the Cons of installation.
Most who will tackle this job will have little to no experience in window installation. However, when everything goes as planned, it can typically be overcome. On the other hand, when things are not such a cookie-cutter job, it will depend on the individual if they can do this. When preparing for a window installation you should go into it thinking that no window will fit perfectly, no window will match any existing window perfectly, be prepared for the worst and hope for the best. We do not want to mislead anyone, as most window installations will be straightforward. However, when problems arise, you need to be prepared as you take a job; you are now responsible for the job and the outcome. The product is an inanimate object, and it can make the job easier or more difficult. Still, the orchestrator of the job must adjust for any discrepancies for a final quality outcome.
|
Here are some common things to look for that will be beyond a standard installation.
When installing windows on your Van that utilize a trim ring for the installation method, you may experience the Window not fitting through the hole you created in the factory OEM positions even if you cut perfectly. You may need to grind the hole of the van wall slightly larger than expected to allow the frame to go through.
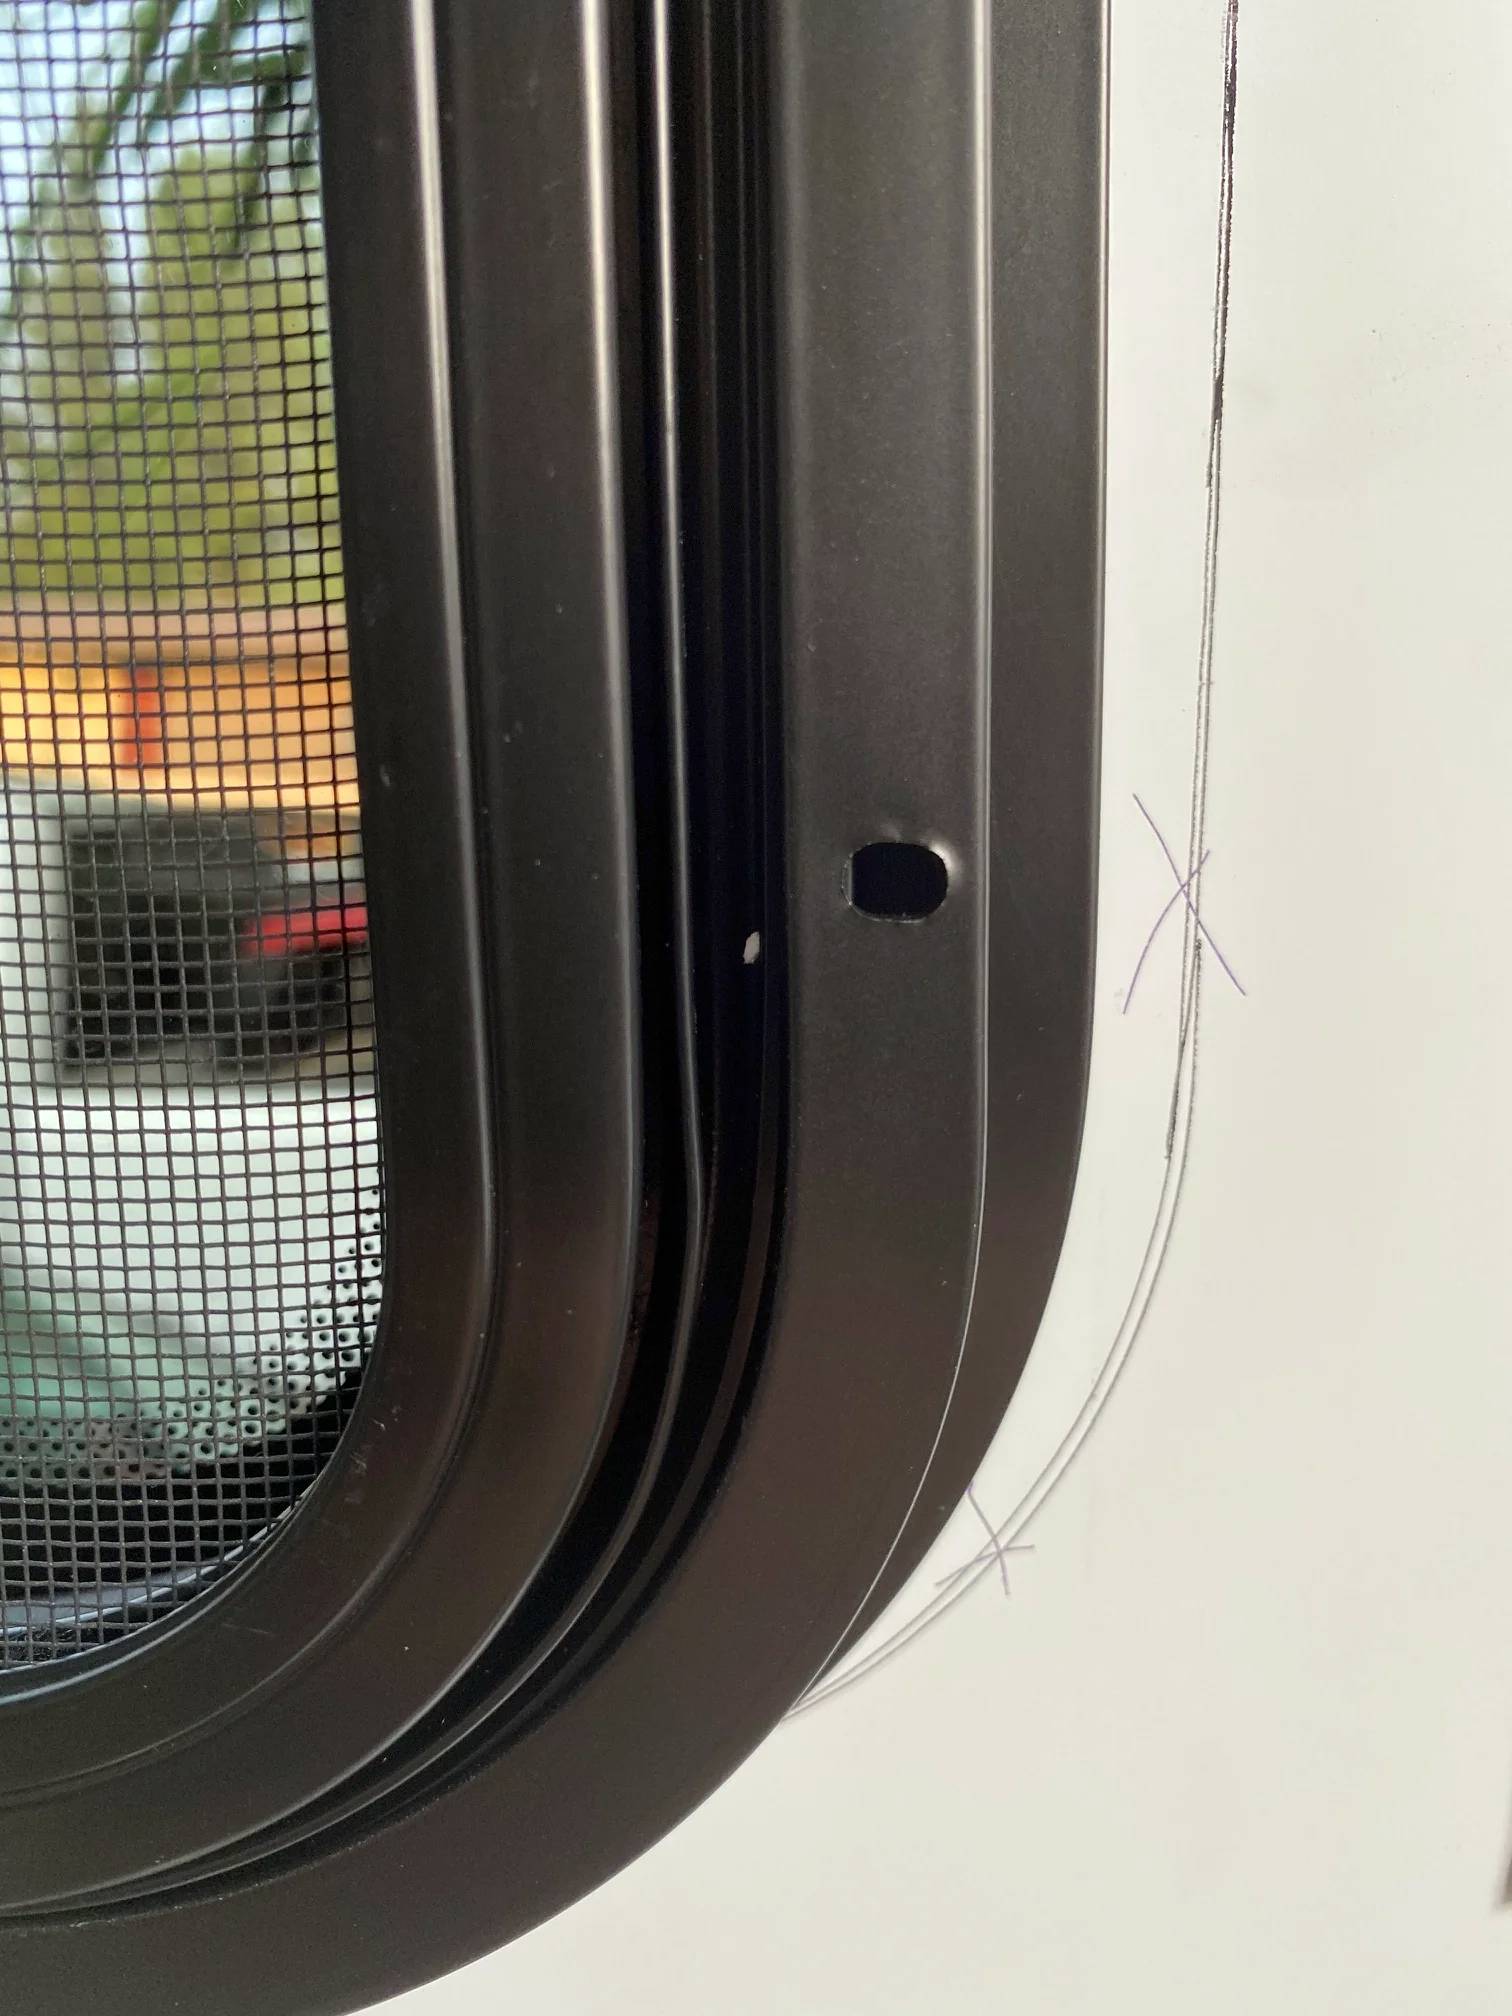
When attaching the ring to the Window when ready to place the windows, the screws can be tough to get fully in place. Due to the tension of the Window on the outside, sheet metal wall, and interior ring all merging. You may need to tighten and loosen the screw repeatedly to get further engaged. Should always utilize drilled pilot holes for screw placement, and a few turns and moving on to the next screw can seem redundant and slow; it will, however, help keep this to a minimum.
Curvature or radius of glass. All Vans have some curvature to the wall. Currently, ProMaster is the most subtle, while the Transit is quite extensive. The addition of spacers behind the glass can sometimes help for better alignment. Though the clamp ring window design does not allow much adjustment regarding the curvature or depth closer or further from the Van wall, so should not expect a 100% match; the window panels should all fit within the OEM window stamping. 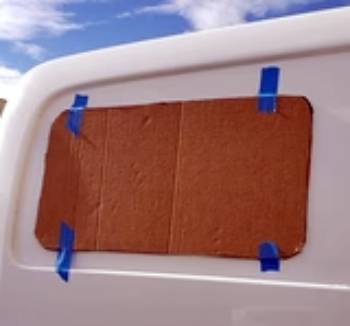
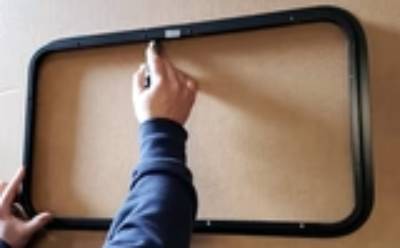
Moving on to Universal Clamp Ring Windows. These will be slightly more difficult to install onto the Van as you will have the added steps of creating a template and measuring out for placement. The other concession that will need to do during the installation of this is the curvature of the van wall and the lack of curve or un-matching curve of a universal window. To deal with this scenario, often installing the clamp ring extremely slowly, literally a couple of threads of the screw at a time, will allow everything to gradually merge and be less likely to buckle the Van wall. If this method is unsuitable, replace a closed-cell foam seal with a larger open-cell (open cell is more spongy, often use 1" thick as it will collapse to 1/4" ). Another method is a thin Luan wood on the interior, creating an expanded backplate to dissipate away from the Window.
| URETHANE VAN WINDOW INSTALLATION |
Let's look at some of the installation hurdles in urethane installed windows. OEM installed Urethane window should go as expected in a single-window configuration. Yet, when you add multiple windows or replace existing windows, it can involve some extra work. Here are some things you will want to be ready for. When installing numerous windows down the side, glass panels should be assumed to not align from top to bottom with standard installation. Methods such as manipulating urethane thickness, adding spacers (often cabinet bumper pads are an excellent go-to), or even rubber footed clamps can be utilized for quality fit and finish. Example: You are replacing a window in your Van's Driver Side Forward position, and you have factory windows or are installing a window behind the Window. Dry fit Window (s) in place to check the cohesiveness of the glass panels. Let's say for this example that the center curve matches up well. However, the top and bottom of the new Window curve into the body more than the Window behind it. Adding the bumper pads to the backside of the glass keeps the glass from setting so close to the van body providing a more aligned fit and quality finish. In reverse, if the panel behind the driver's Window has less curvature than the new one you install. Pushing spacers between the van wall and 2nd-row glass panel (glass has some flex, this can often be utilized even if the Window is mounted). Slipping the spacer behind the center of the 2nd row will make that glass panel stick out a bit more. Then utilizing clamps or ratchet straps with 2x4 or other flatted items onto the glass in the forward position will allow you to strap down the glass and flex that panel tighter to the wall for better alignment and aesthetically pleasing finish. (Wether 2x4 or other item used should wrap in cloth or soft material to avoid scratches to glass also this method should be handled with extreme caution and done slowly to avoid shattering Window.)
On the interior side of the installation, any existing van walls that meet up to, attach to, or are close to the windows may require modifications. No window will take your interior into account, so you will need to make sure if this is relevant to your particular situation or not.

The final installation we will look at is the Universal urethane bonded Window install. These will be slightly more difficult to install onto the Van as you will have the additional steps of creating a template and measuring out for placement. The curvature of the van wall and the lack of curve of the universal Window will mean that you will either visually have an inconsistent gap between the sheet metal of the Van and the glass of the Window. Unlike the clamp ring that distorts the wall gives a more " completely flat to wall" aesthetic. The urethane will hide behind the glass, and the Window will appear to hover off the wall. Depending on placement, you may have a 1/8"-1/4" difference in space. Purchasing a small 1/8" foam seal and attaching it to the backside of the glass on the outside edge will fill the gap and reduce the noticeability of the difference.
These are some common things you can perhaps encounter during your installation. However, all are controllable and can easily be overcome with preparation and a willingness to take on. Here at Van Windows Direct, we are always happy to help guide you through any issues.